
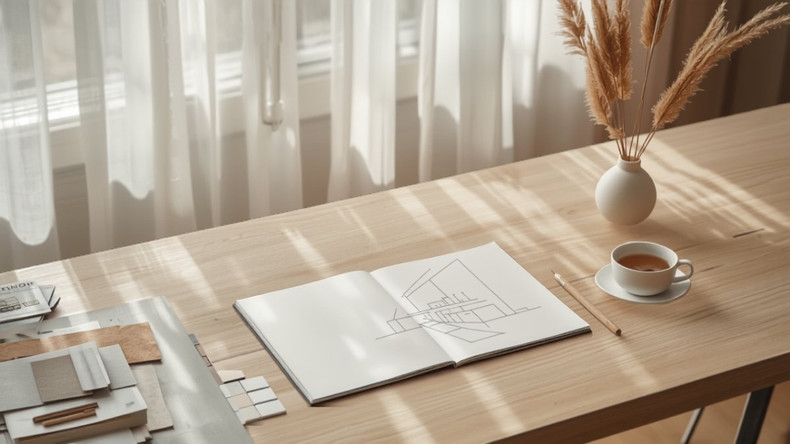
Just after six, the kitchen holds still. The kettle has not woken. Light slides along the counter and finds nothing in its way. This is the room before the day asks anything of it.
Learning how to design a Japandi kitchen is really learning to protect that stillness while the room does its hard daily work — the curry on Sunday, the ramen on Tuesday, the school-bag chaos at 7am. It is a quieter kind of ambition. Where a busy kitchen shouts for attention, a Japandi one asks to be overlooked, so the cooking and the company can take the room instead. What follows is a method in eight steps, from the first honest conversation to the last small ritual. It suits a 4-room HDB kitchen as readily as a condo galley or a KL condo layout, because the discipline scales down without losing its calm. Take the steps in order — each one narrows the next, and the room grows clearer as you go.
How to design a Japandi kitchen, step one — the brief
Begin with how you actually cook, not how you imagine you might. Who is at the stove, and how often. Whether two people work the counter at once. How much dry storage the household truly turns over in a week, and how much of it is bulk buys that need a home out of sight. A Japandi kitchen is defined as much by what you leave out as what you put in, so the brief is where restraint starts. Be honest about the messy realities too — the rice cooker that lives out, the air fryer, the drying rack — because a calm kitchen is one that has planned a place for the clutter, not one that pretends there is none. Write down the three things that must work perfectly, and let everything else stay negotiable. This one page will settle more arguments than any mood board.
Step two — layout
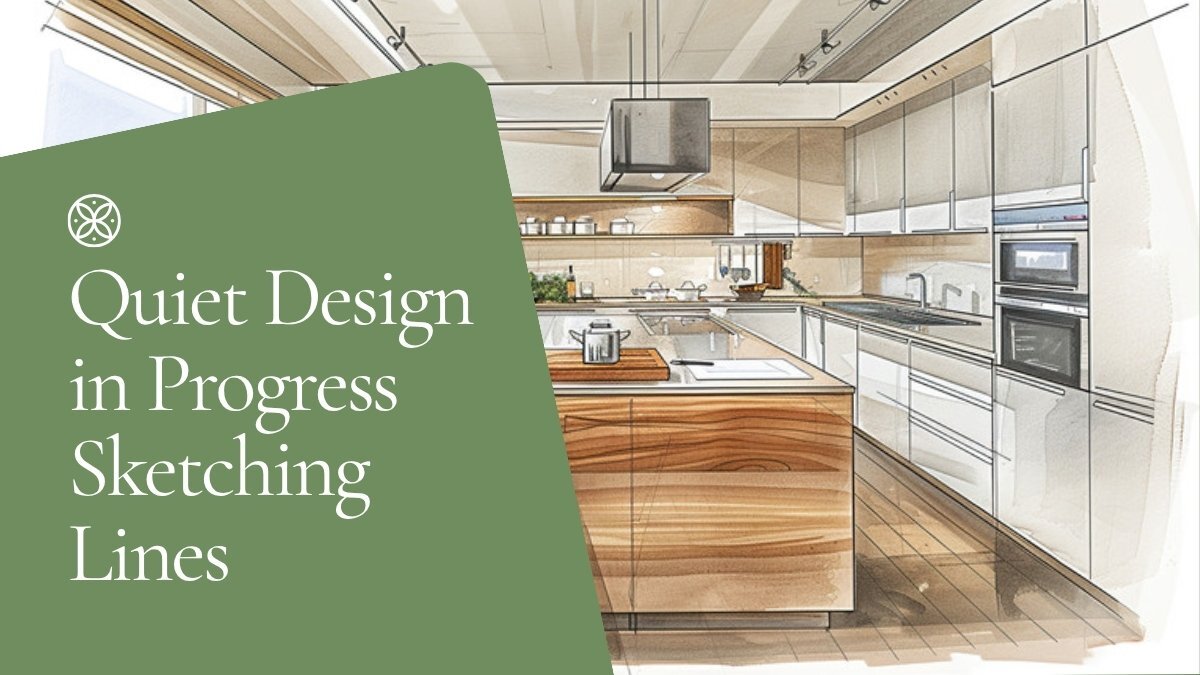
Let the layout follow the room, not a magazine. In a 4-room HDB kitchen, that usually means a single run or an L, with the classic triangle between sink, hob, and fridge kept short and unfussy — no more than a few steps between any two of them. A condo galley wants two clean parallel lines and a clear path between them, wide enough that a second cook is not a collision. Think about where the wet work happens and keep it away from where the dry storage lives, so the room never asks water and flour to share a corner. Whatever the shape, guard the negative space — the Japanese call it ma, the value of the gap — because an uncrowded worktop is the whole point. Give yourself one generous length of clear counter, at least 600mm, and defend it against every appliance that wants to move in. That empty stretch is where the room breathes.
Step three — palette
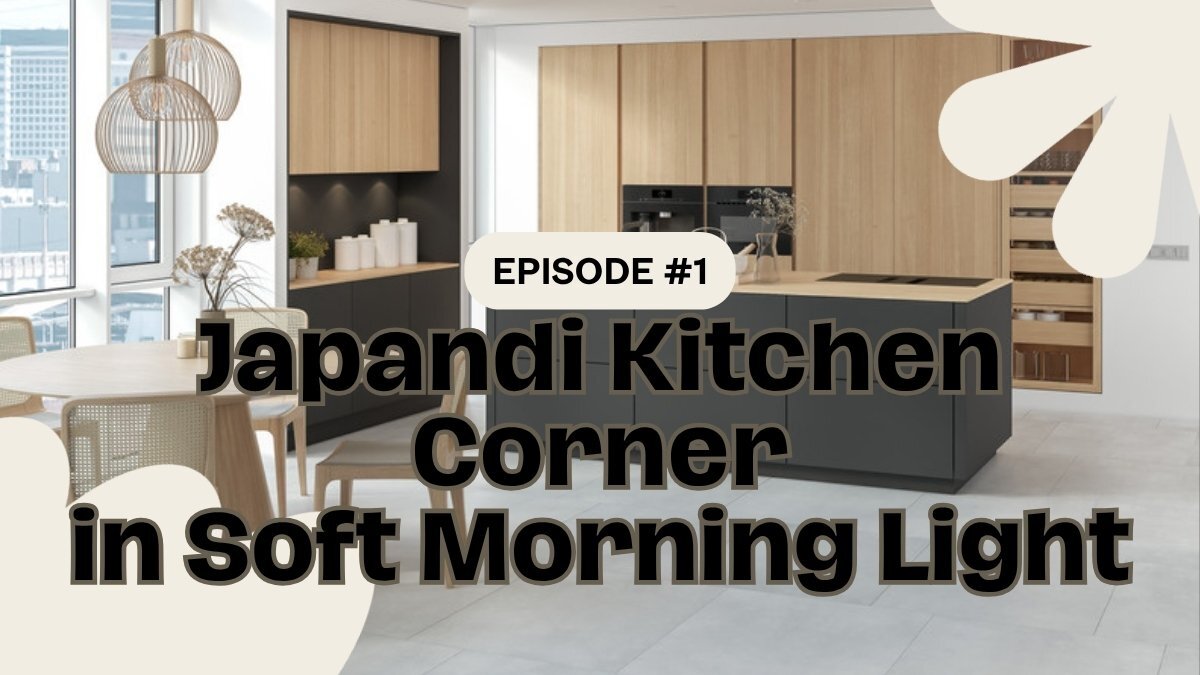
Choose a palette that behaves in tropical light. Japandi leans on warm neutrals — oat, clay, soft greige, the pale honey of light oak — grounded by one quieter, deeper tone for contrast, perhaps a charcoal or a warm walnut on a single run of cabinetry. Two or three colours across the whole room is plenty. In Singapore and KL light, which is bright and warm rather than cool and grey, these tones stay calm through the day instead of turning cold, where the icy greys of a pure Scandinavian scheme can look flat and unhappy by mid-afternoon. Keep the walls close to the cabinetry so the eye is not chopped into pieces. Save your one deeper tone for something you want the eye to rest on — an island front, a run of tall units — then let everything else recede. Test your samples in the actual room at different hours, because the same board can read warm at breakfast and grey by dusk, and only the real light will tell you the truth. The result should read as one soft field of colour, not a set of competing surfaces.
Step four — materials
Pick materials for how they age and how they handle humidity, then let them show their nature. Light wood tone on the fronts, a honest stone or a matte quartz on the counter, a plaster-look wall to catch the light. A matte finish over a glossy one, because gloss fights the tropical glare and shows every fingerprint. Grain runs vertically where it can, so the room feels taller and quieter. Because our climate sits near 90% humidity, the carcass matters as much as the finish — moisture-resistant board where the wet zones live, E1 low-formaldehyde board throughout. This is not the headline of the room; it is simply what honest material should be when you plan to cook in it for a decade. For the full material argument, our guide on which cabinet material survives Singapore's 90% humidity is worth an unhurried read.
Step five — cabinetry
Let the cabinetry disappear into calm. Full-height where you can, handleless fronts, a continuous line broken only where it must be. Tall units to the ceiling rather than a gap that collects dust and oil above the wall cabinets. Think in terms of drawers over doors for the base run, because a drawer brings its contents to you while a door asks you to kneel and reach into the dark. Plan the tall pantry column early, since it decides where the calm plane can run unbroken. The carcass is the part no one sees and everyone relies on, so it should be built under one roof with alignment held under 1mm — the difference between doors that sit as one plane and doors that quietly annoy you for a decade. This is where a made kitchen parts ways with a bought one. Our Mokko Kitchen range is built around exactly this idea: the joinery you notice least is the joinery working hardest.
Step six — hardware
Choose hardware you feel more than see. Push-to-open on the upper runs keeps the fronts unbroken and the wall reading as one plane. Where handles genuinely help — the heavy pot drawer, the pull-out bin, the drawer a tired hand opens one-handed — pick a slim edge profile or a recessed grip in a warm, muted metal, brushed brass or blackened steel, never a bright chrome that catches the eye every time you pass. Soft-close on every drawer and door, without exception, because the sound a kitchen makes is part of how calm it feels. Ten drawers that close with the same soft breath do more for the mood of a room than any statement tap. And spend on the runners that carry weight daily, because hardware is the part of a kitchen that fails first when it is cheap. Restraint in the hardware is restraint you touch a hundred times a day.
Step seven — lighting
Light the kitchen in layers, warm and low in temperature. Under-cabinet light for the working counter, so the cook is never in their own shadow while chopping. A soft ambient layer for the evening, when the room stops being a workshop and becomes part of the home and someone lingers over tea. A single quiet pendant over an island or a peninsula, if the room has one, to give the space a centre. Aim for a warm colour temperature, around 2700K to 3000K, which flatters wood and skin alike and keeps the tropical glare outside where it belongs. Put the layers on separate switches so the room can be bright for cooking and low for company. Avoid a single harsh ceiling light doing all the work, which flattens the room and throws the cook into shadow. Let one pool of light fall on the clear counter you protected in step two. Good lighting is not more light. It is light that knows where to land.
Step eight — ritual
Design, finally, for the small daily rituals the kitchen exists to hold. The corner where the kettle lives and the two cups wait. The drawer that opens for breakfast and closes the day away. The narrow spot beside the hob where the salt and the oil sit within a hand's reach, so cooking becomes a rhythm rather than a search. Give the everyday things a home so good that putting them back feels like part of the pleasure, not a chore. This is the step that turns a well-built kitchen into a loved one, and it is the one most plans forget. A Japandi kitchen is not a showroom to be admired but a room to be used gently and often, and the best ones make the ordinary acts — pouring, chopping, washing up — feel unhurried. If you want the wider frame around all eight steps, our kitchen cabinet design in Singapore playbook gathers the thinking in one place, and our bespoke design and build page shows how the method becomes a real room.
Read together, the eight steps are less a checklist than a way of thinking. Brief before layout, layout before palette, palette before the material that carries it — each decision made in its right order, each one quieter than a homeowner starting from finishes and working backward. None of it is expensive taste for its own sake. It is the difference between a kitchen you fight with and one that meets you halfway, morning after morning, in a 4-room flat or a KL condo alike. The method is the same. Only the room changes.
Come back to just after six. The kettle wakes. Light finds the clear counter and rests there. The kitchen is ready, and so, quietly, are you.
Visit our Aperia design office, by appointment.