
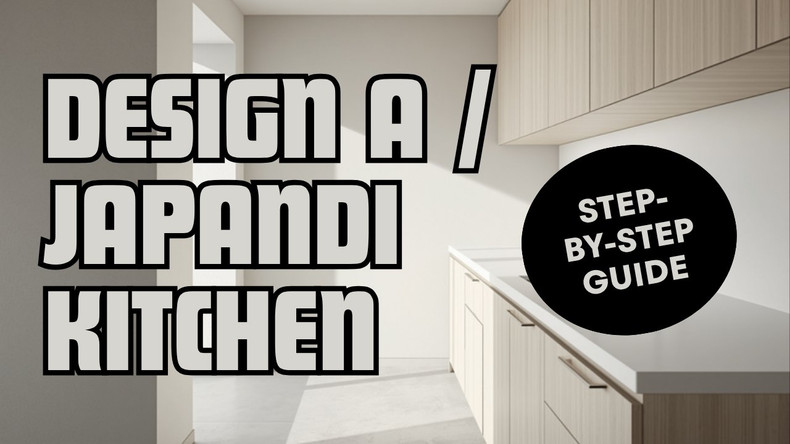
How to design a Japandi kitchen: eight steps from brief to installation
A Japandi kitchen does not arrive fully formed from a single decision. It is the accumulation of eight specific choices, each one made in the right order. Skip one, or make it in the wrong sequence, and the result tends toward the merely expensive rather than the genuinely calm. How to design a Japandi kitchen is a process question before it is an aesthetic one — and the process has a logic to it that is worth following.
What follows is the Mokko Kitchen eight-step method, developed through years of kitchen projects in Singapore and Malaysia. It is applicable to any kitchen, in any footprint, at any budget level above the minimum required to use quality materials.
Step one: map the work triangle and sightlines before any aesthetics
The first step in any Japandi kitchen design is spatial. Before any material, colour, or cabinet configuration is discussed, map the work triangle: the relationship between the cooker, the sink, and the refrigerator. These three points should be within comfortable reach of each other — a triangle with each side between 1.2 and 2.7 metres. A kitchen that is beautiful but inefficient to cook in is not a Japandi kitchen. It is a kitchen with a Japandi finish.
While mapping the triangle, also identify the primary sightline into the kitchen from the living or dining area. This is the view that matters most for the overall calm of the home. The sightline should terminate on a composed surface — a clean cabinet elevation, a considered tile panel, or a simple range hood. It should not terminate on the dishwasher, the bin, or the underside of an upper cabinet.
Step two: fix the layout type
For most Singapore and Malaysian homes, the kitchen layout is constrained by the building structure. Common configurations are galley (parallel), L-shaped, and U-shaped. Each has a Japandi application. A galley kitchen benefits from visual compression — matching upper and lower cabinets on both walls, a worktop that runs uninterrupted, and a single colour palette. An L-shaped kitchen allows a cleaner separation between prep and cooking zones. A U-shaped kitchen requires particular attention to corner solutions — Japandi design does not favour the carousel corner unit; a deep fixed shelf with a pull-out mechanism is more considered.
Step three: select cabinet materials with humidity in mind
Material selection in a Singapore or Malaysian kitchen is a durability decision before it is an aesthetic one. Cabinet carcasses should be E1-certified moisture-resistant board as a minimum, with marine-grade plywood in all wet-zone applications. This is not negotiable. A Japandi kitchen that is beautiful on installation day and failing at the base of the sink cabinet in year four is a design and specification failure.
Door faces should be chosen for their performance in humid conditions as well as their appearance. Matte lacquer holds well in a conditioned kitchen environment. Timber veneer requires a quality sealing process to prevent edge absorption. Textured laminate is the most moisture-resistant of the decorative door face options.
Step four: select and commit to a single hardware finish
Hardware finish selection in a Japandi kitchen is a commitment, not a variable. Choose one: matte brushed brass, matte black, or brushed nickel. Apply it to every handle, every tap, and every appliance control visible in the kitchen. Mixed metals are not a Japandi characteristic — they are a retail market compromise dressed as choice.
For hardware mechanism, specify Blum or Hettich throughout. Soft-close hinges and Legrabox drawer runners are the standard on Mokko Kitchen builds. The mechanism should never make itself known — a drawer that closes with a faint sound and settles without drama is the correct outcome.
Step five: design appliance integration
Japandi kitchen design integrates appliances into the cabinet elevation rather than placing them in front of it. The refrigerator should be either fully integrated behind a panel door or selected in a finish that reads quietly — matte stainless, black, or white, depending on the palette. The dishwasher should be panel-integrated. The oven, if built-in, should sit flush with the surrounding cabinet faces.
Appliances that cannot be integrated — a freestanding rice cooker, a countertop kettle — should be stored in a closed appliance garage or a dedicated cabinet zone, not left on the worktop as permanent fixtures. The worktop in a Japandi kitchen is for food preparation, not appliance display.
Step six: design the lighting in three layers
Kitchen lighting in a Japandi design is always layered: recessed downlights as the ambient layer, under-cabinet LED strip at 2700K as the task layer, and a single pendant over any island or dining zone as the atmospheric layer. The downlights should be in 2700K warm white — not the 4000K cool white that Singapore contractors frequently default to. Cool white makes a kitchen feel like a commercial food preparation space, not a home.
Step seven: set the sightline composition
Return to the sightline identified in step one. From the primary viewpoint — typically the dining area or the living room — the kitchen should read as a composed horizontal band. Upper cabinets aligned to a consistent height. Worktop at a consistent level. No visible accessories on the worktop. The range hood, if exposed, should be a single clean form — a chimney or a slimline canopy, not a statement piece with elaborate curves or mixed materials.
Step eight: finishing details and snagging protocol
The final step in Japandi kitchen design is the one most often rushed: finishing details and snagging. In a Mokko Kitchen installation, the snagging walkthrough covers alignment of every door and drawer face, consistent reveal gaps between all adjacent panels, hardware torque on every hinge, drawer runner resistance across all pull-outs, and edge seal quality on all visible board edges. These are the details that determine whether a kitchen reads as considered or as approximate. They take time. They are worth taking time over.
A Japandi kitchen is not a style applied to an ordinary kitchen. It is a kitchen designed from the first step with the same discipline that the final finish requires. When the eight steps are followed in order, the result is a kitchen that holds its calm over time — and that is the only measure that matters.